I had this idea a while ago and thought it would be a most excellent dessert for christmas. I’ve been Waiting ever since. Amidst all the preparations all I could think about was finally getting to make (and more importantly, eat) my pud, and hope it was as nice as I thought it was going to be.
Well the waiting is over and I can assure you it was most definitely worth the wait 🙂
There are a few flavours in here, but they complement each other wonderfully well.
Chocolate Chestnut Chilli Torte
Chilli Pastry
200g Flour
100g Butter (diced)
50g Chilli sugar*
1 Egg (beaten)
Icing sugar to roll out pastry and sprinkle.
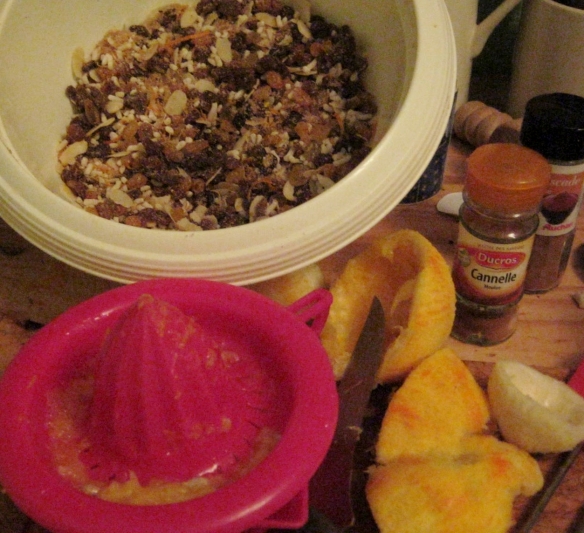
(* if you don’t have any chilli sugar there is a method here, or you can add 1tsp of chilli flakes and 1/4tsp of chilli powder to regular granulated sugar)
Chocolate torte
100ml Cream
100g Marzipan
50g Chestnut paste
7 whole cooked Chestnuts
Icing sugar to dust
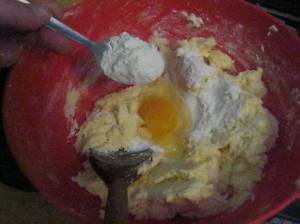
Cut together the butter and flour until there are no large lumps left. I have this nifty little pastry cutter gadget, but a knife works just as well, but a bit slower. Finish by rubbing the flour and butter through your fingers until the mixture looks like sand. Add the sugar and mix well.
Gradually add the beaten egg and bring together with a fork. You only really need a few spoonfuls of the egg s you don’t want your pastry too wet. When it starts to go sticky on your fork use your hands to bring the dough together into a ball. If its too dry add a little more egg, if it’s too wet add a little more flour.
Kneed well until smooth and crack free, place in a polythene bag and refrigerate for at least half an hour before rolling.

Once the pastry is chilled roll out to about 1/2cm thick. You will need the pastry to be relatively thick as there is a point with this torte when you will be using your hands and you don’t want it to fall apart when you pick it up.
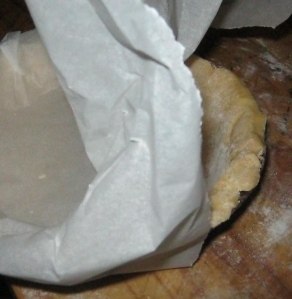
Press gently into a greased and floured tin and blind bake* for 25 minutes.
*To ‘blind bake’ you need to cover the uncooked pastry with a sheet of baking paper and weight it down with pastry beads or uncooked rice and place in a pre-heated 180degree oven.
Take the pastry from the oven when it has started to brown around the edges and allow to cool completely. When it is completely cold remove the beads/rice and paper .

Roll out marzipan to about 1/4cm and line the pastry shell.
Spread a generous layer of chestnut puree on top of the marzipan.
The reason for the marzipan, should one be needed, is to stop the chestnut puree soaking into the pastry and making it soggy. And it tastes fantastic.

Place the dark chocolate in a bowl over boiling water and when it has melted stir in the cream. It takes a few minutes for the cream and chocolate to combine so stir gently until the mixture is smoothe dark and runny.

Take from the heat and stand for 5 minutes before pouring into the pastry shell.

Now you have to be patient. Set aside to cool for an hour and when the top of the ganache is set arrange your chestnut pieces gently on top. Now leave the torte to cool completely either in a cool place overnight or in the fridge for a few hours.

When the torte is solid, you are free to enjoy 🙂
I would recommend serving with a little cream or creme fraiche. The pastry is not overly hot and the chocolate ganache complements the hint of chili without ambushing it completely. But in the wise words of small person “don’t eat the pastry on its own…get me some water”!

A Bientot.